Featured News
GeForce Garage: Scratch Build Series, Video 6 - How To Plan Your Watercooling Loop

Every good mod begins with a plan. That applies to every component, but in the case of your rig’s cooling system, it’s absolutely crucial. You won’t get the best performance out of your CPU and GPU without effective cooling, but that cooling system also has to be solidly constructed so that you don’t end up with an Ghostbusters-style ectoplasmic disaster inside your chassis.
An all-in-one watercooling kit is the most obvious solution. But the pliable, haphazard tubes can spoil the effect of a custom case mod and can be more prone to accidents, especially in an exposed chassis design like our Scratch Build. So a better solution would be a custom watercooling loop that’s more durable and complements our design.
And for that, we need a plan.
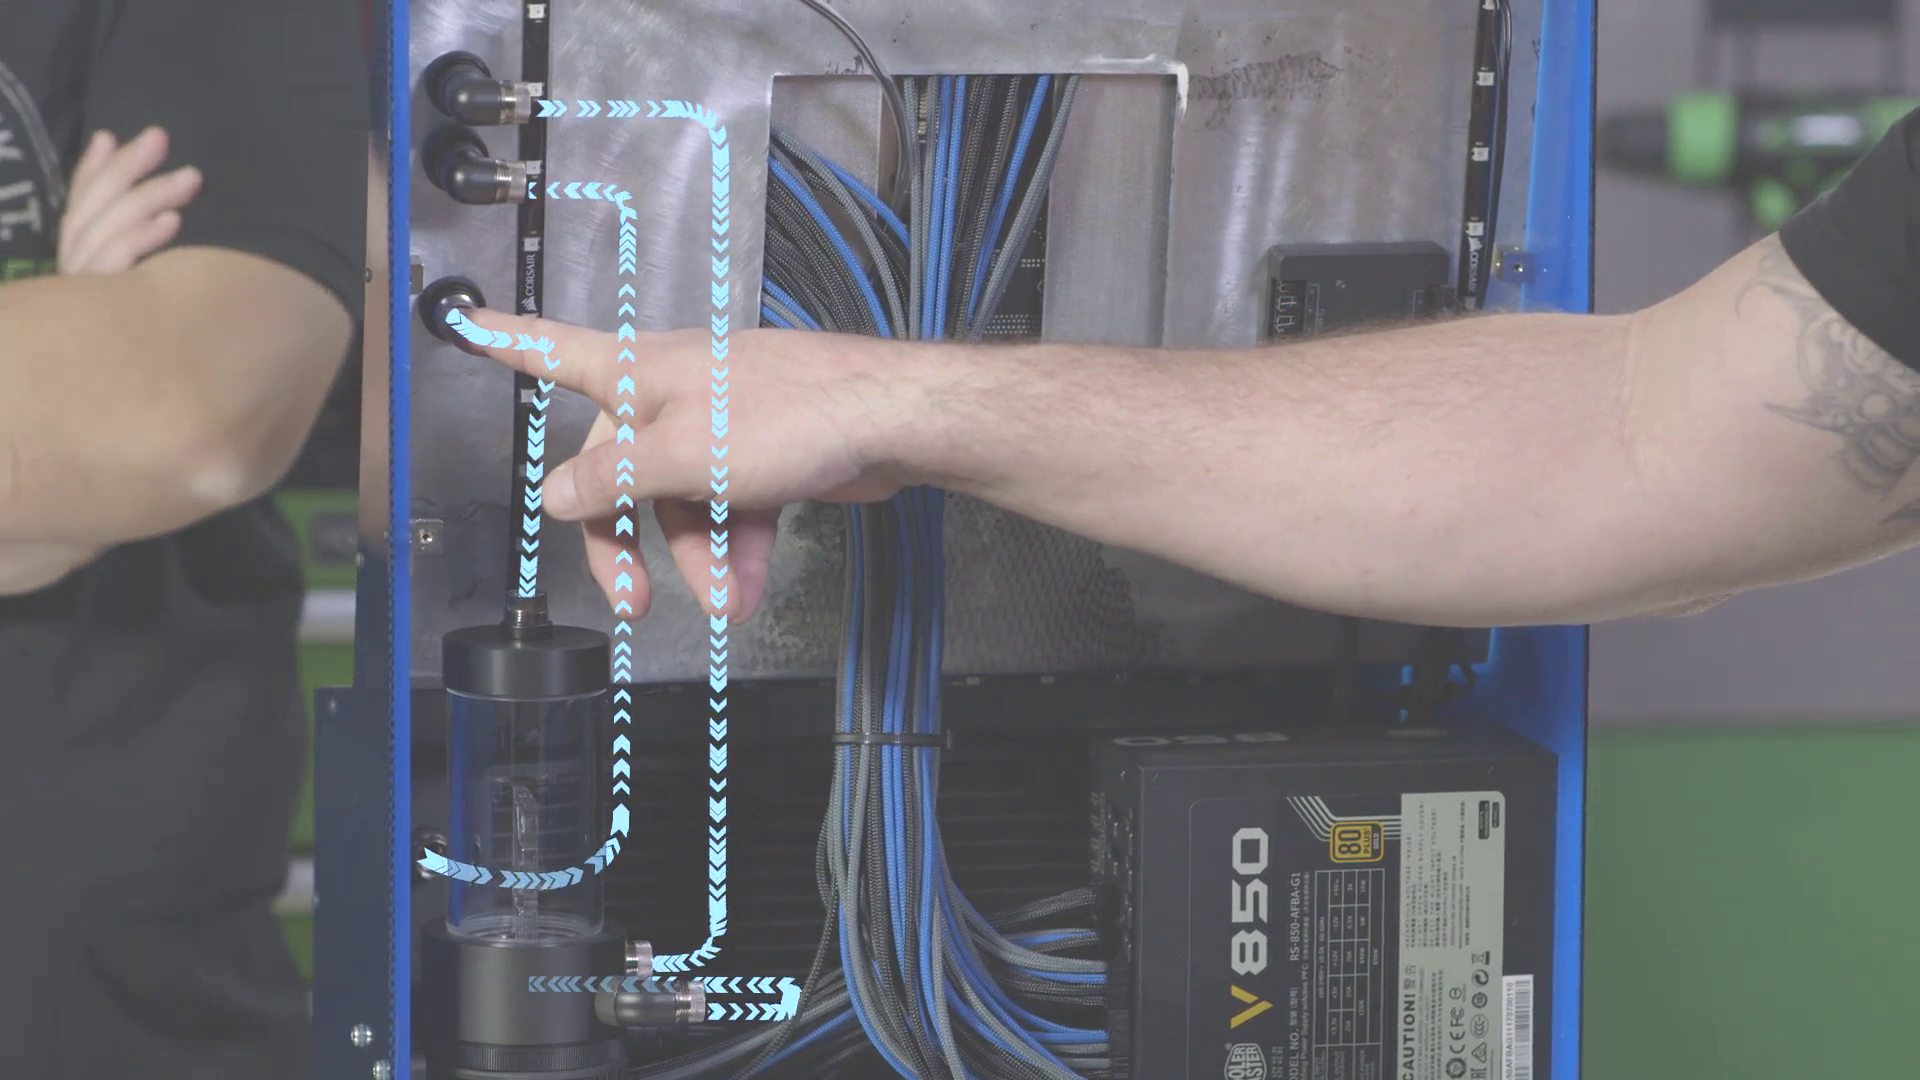
In today’s video, Lee Harrington of PCJunkieMods is going to walk you through the process of planning, building, and installing a custom watercooling loop. As you’ll see in the video, it isn’t a difficult mod to pull off. The tricky part is making the right decisions before you even buy your supplies.
Which components to cool? Do you need fill and drain ports? Hardline or flexible tubing? Acrylic or PETG? Lee’s going to address these questions and more, and then he’ll show you how it all comes together in our glorious, custom Scratch Build.
Once you’ve watched it, don’t forget to download our accompanying guide (PDF) that you can use when you’re planning your own watercooling loop.
And keep checking back here at GeForce Garage as we update the site with more videos and cheat sheets, including the season finale to our Scratch Build series—a comprehensive build review. There’s more to come!
For other skill guides involving the Scratch Build:
- Episode 1: How to Pre-Visualize Your Build Using Sketch Up
- Episode 2: Basic Metal Fabrication Techniques
- Episode 3: Hydro Dipping
- Episode 4: Metal Finishing Techniques
- Episode 5: How to Mod Your Graphics Card
- Rig Spotlight: Recap of the GeForce Garage Scratch Build
SPECIAL THANKS TO: |
|
|
|
|
|


 r
r