Most of us at NVIDIA have been playing games for a long time. We remember the days before Steam, of 4:3 aspect ratios and accelerated graphics ports. We also remember loading the old rigs into the hatchback, meeting with friends and setting up for LAN parties. Back then, the choices were few, beige, and difficult to transport.
Luckily, that's no longer the "case".
We still sit down with friends to game at LANs and even travel a lot further to do it now. With the distance and frequency that we transport our gaming PCs we've wanted systems purpose built for the LAN for a long time, but have struggled to build something that met all of our needs. With Maxwell, we finally have the platform we've been looking for.
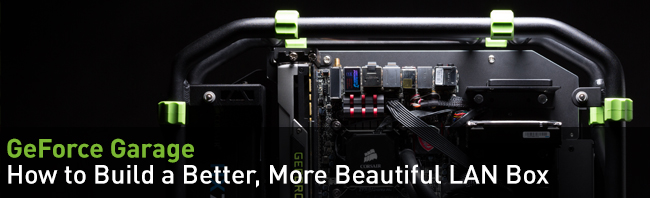
A Better LAN Build
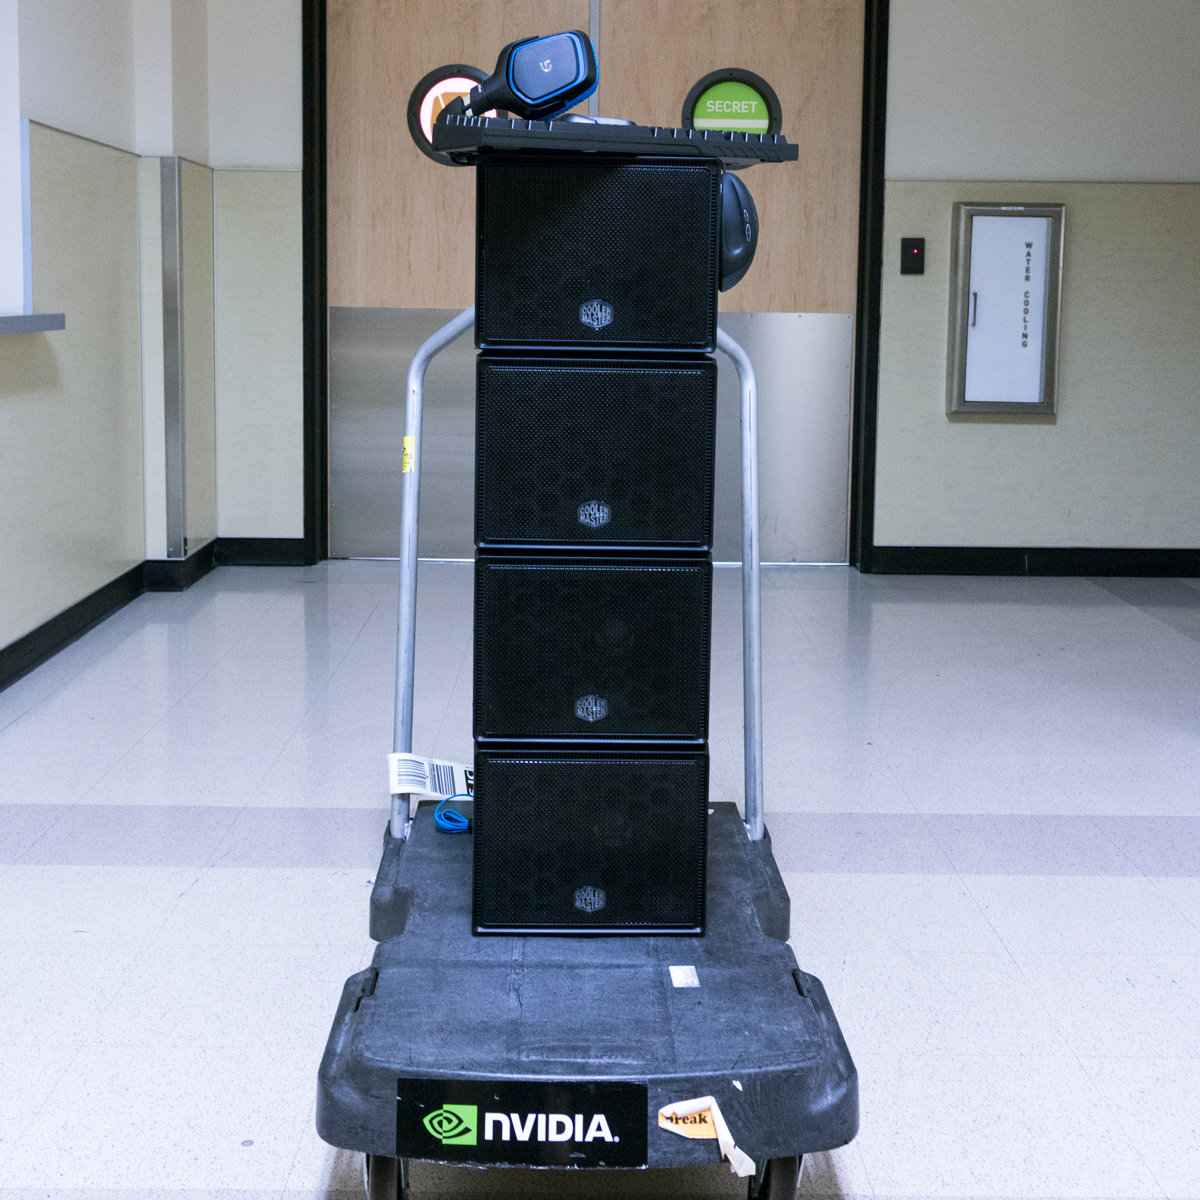
In the winter of 2013, we built 4 small PCs based off of the GeForce GTX 750 Ti. They were small, fast and amazingly power efficient. Now that we've debuted the GeForce GTX 970 and GTX 980 we felt it was time to finally do the LAN build of our dreams.
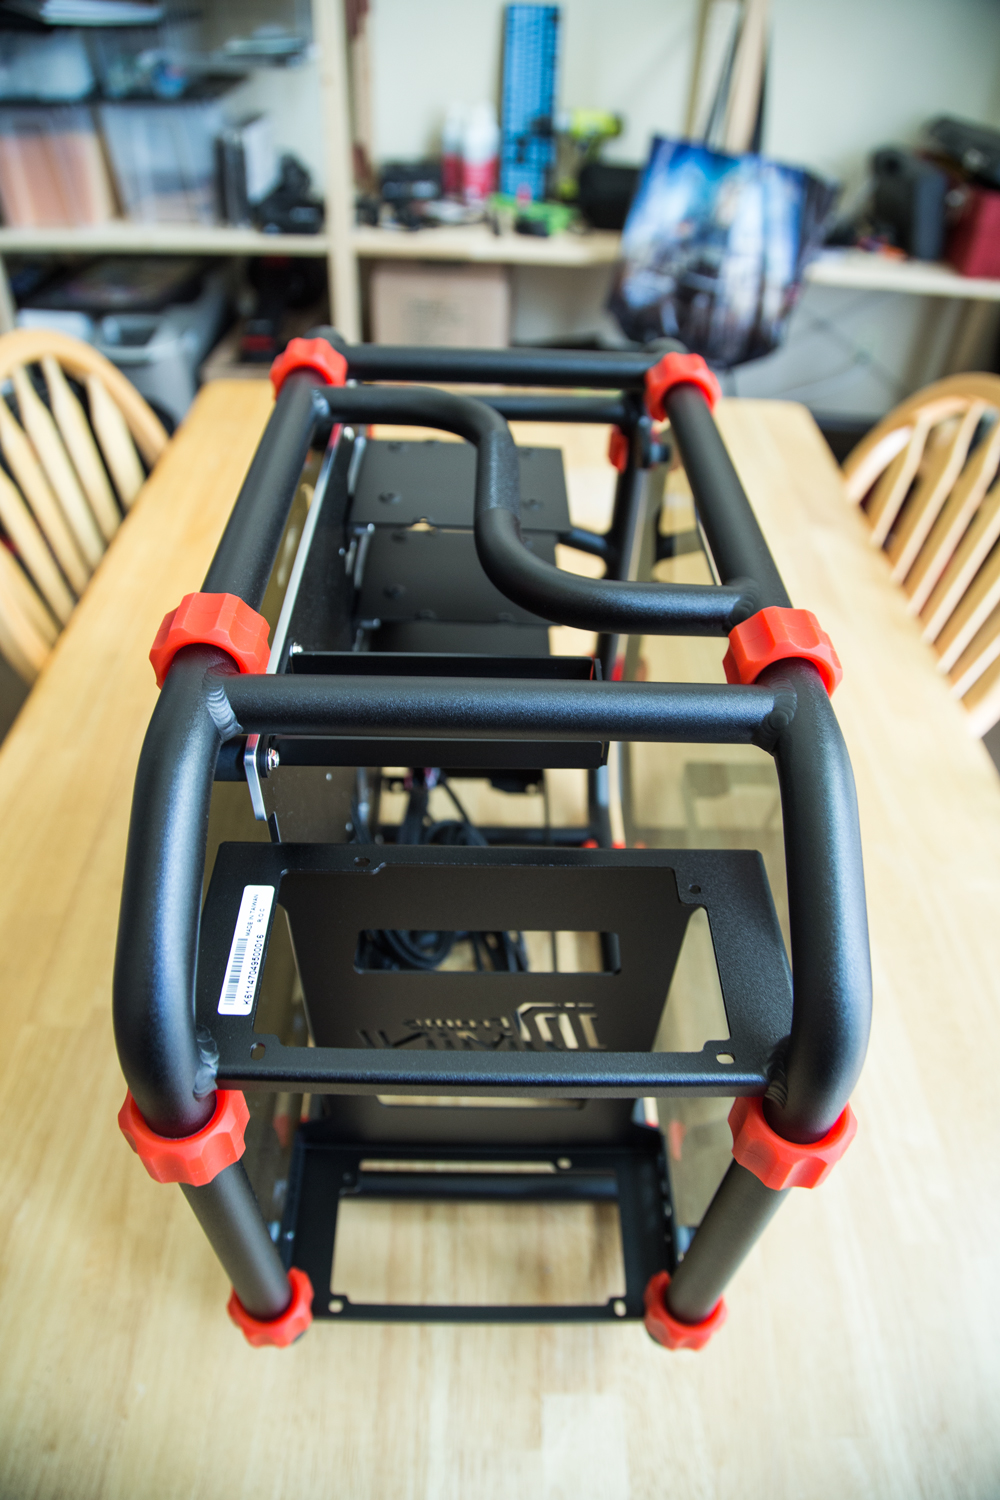
Our original LAN builds used a case that couldn't fit a full size card and was limited to a single fan cooling solution. This time around we decided to use a more rugged and versatile case that would give us the opportunity to utilize top shelf components. There were many options but one clearly stood above the rest in terms of quality and portability.
A Better Chassis
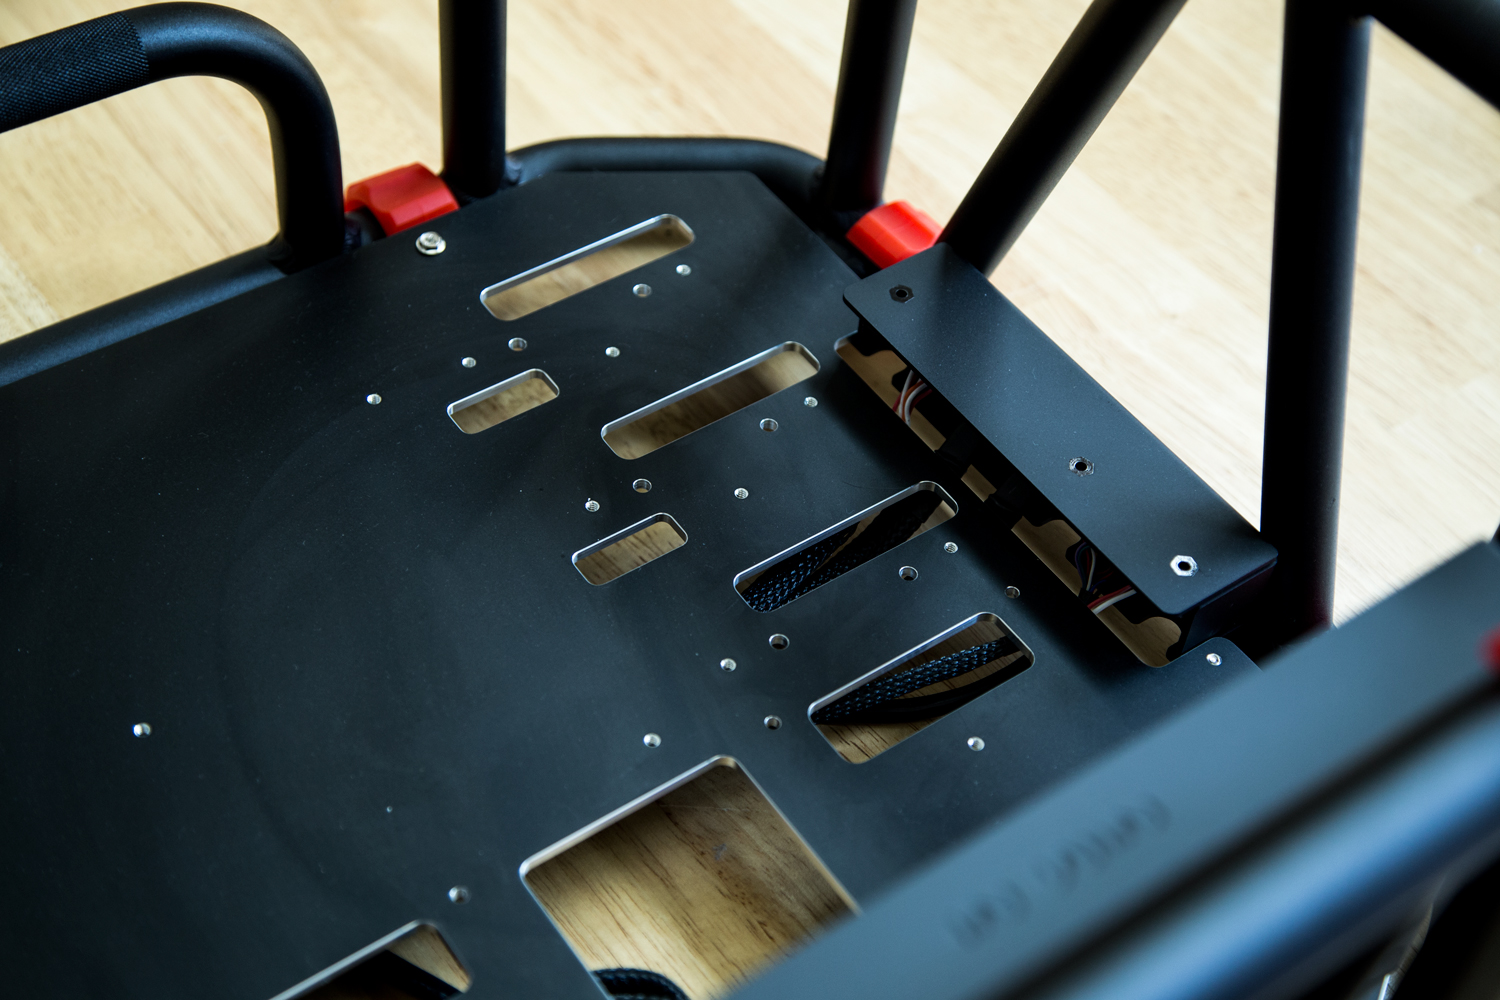
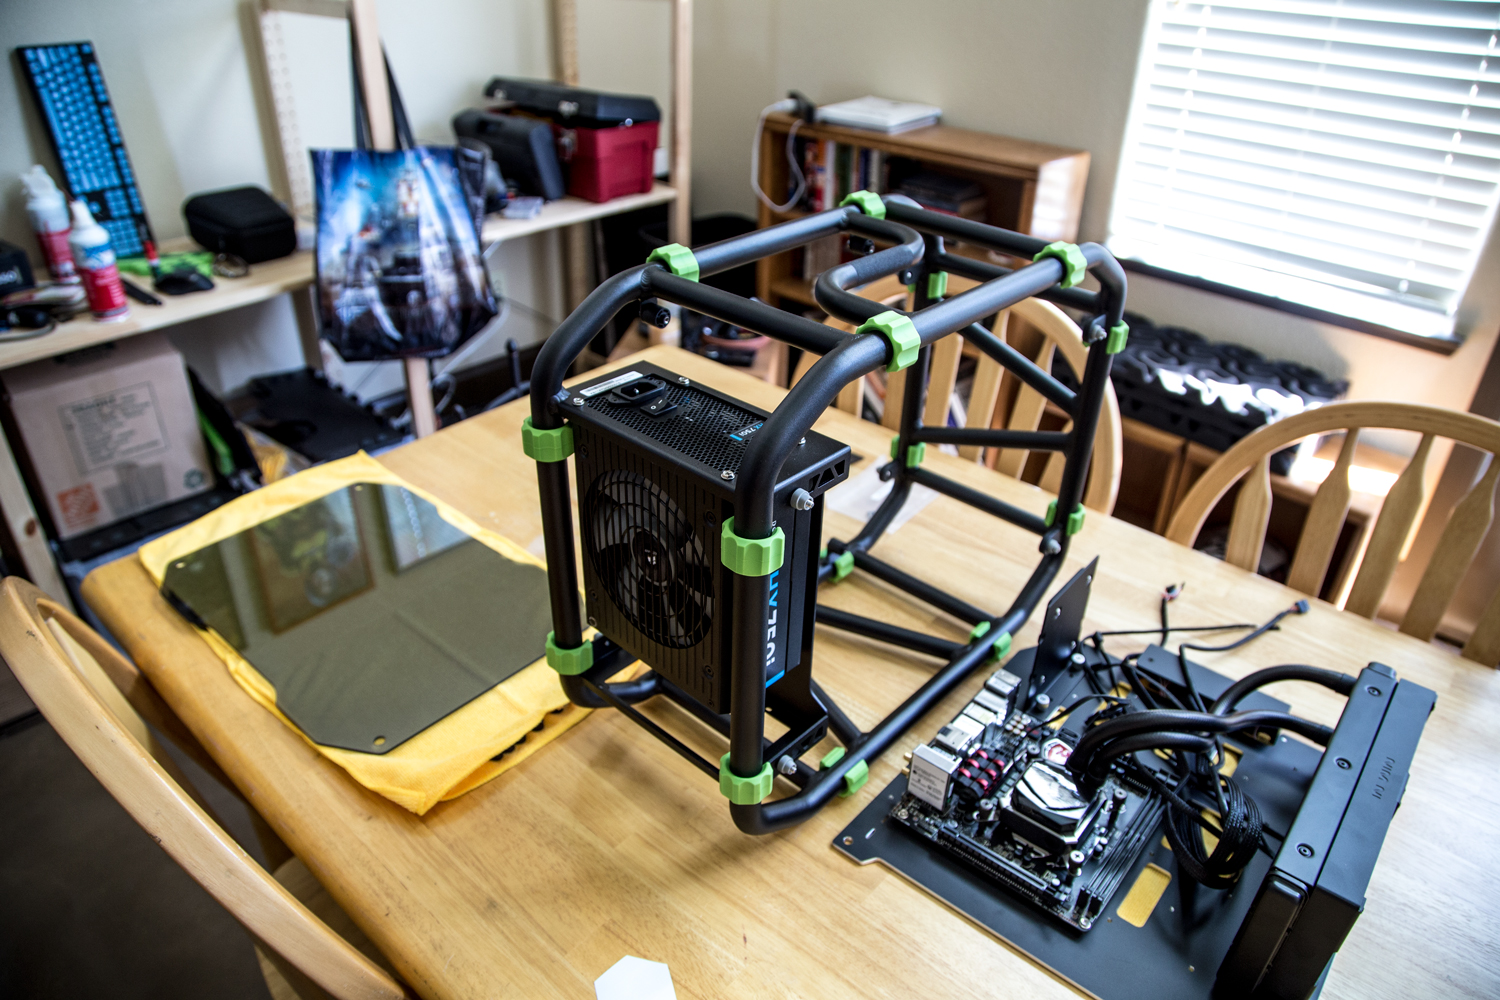
The D-Frame Mini by In Win is an ITX form factor case with room for a 2 slot, full length graphics card, large power supply, 240mm radiator and up to 3 hard drives. It's formed out of aluminum tubing with rubber shock absorbers, features a thick aluminum mounting plate and is dressed on either side by a sheet of tempered glass. It has a functional handle on the top, looks like an Italian motorcycle, and is perhaps the sturdiest platform for a gaming rig that we've ever worked with.

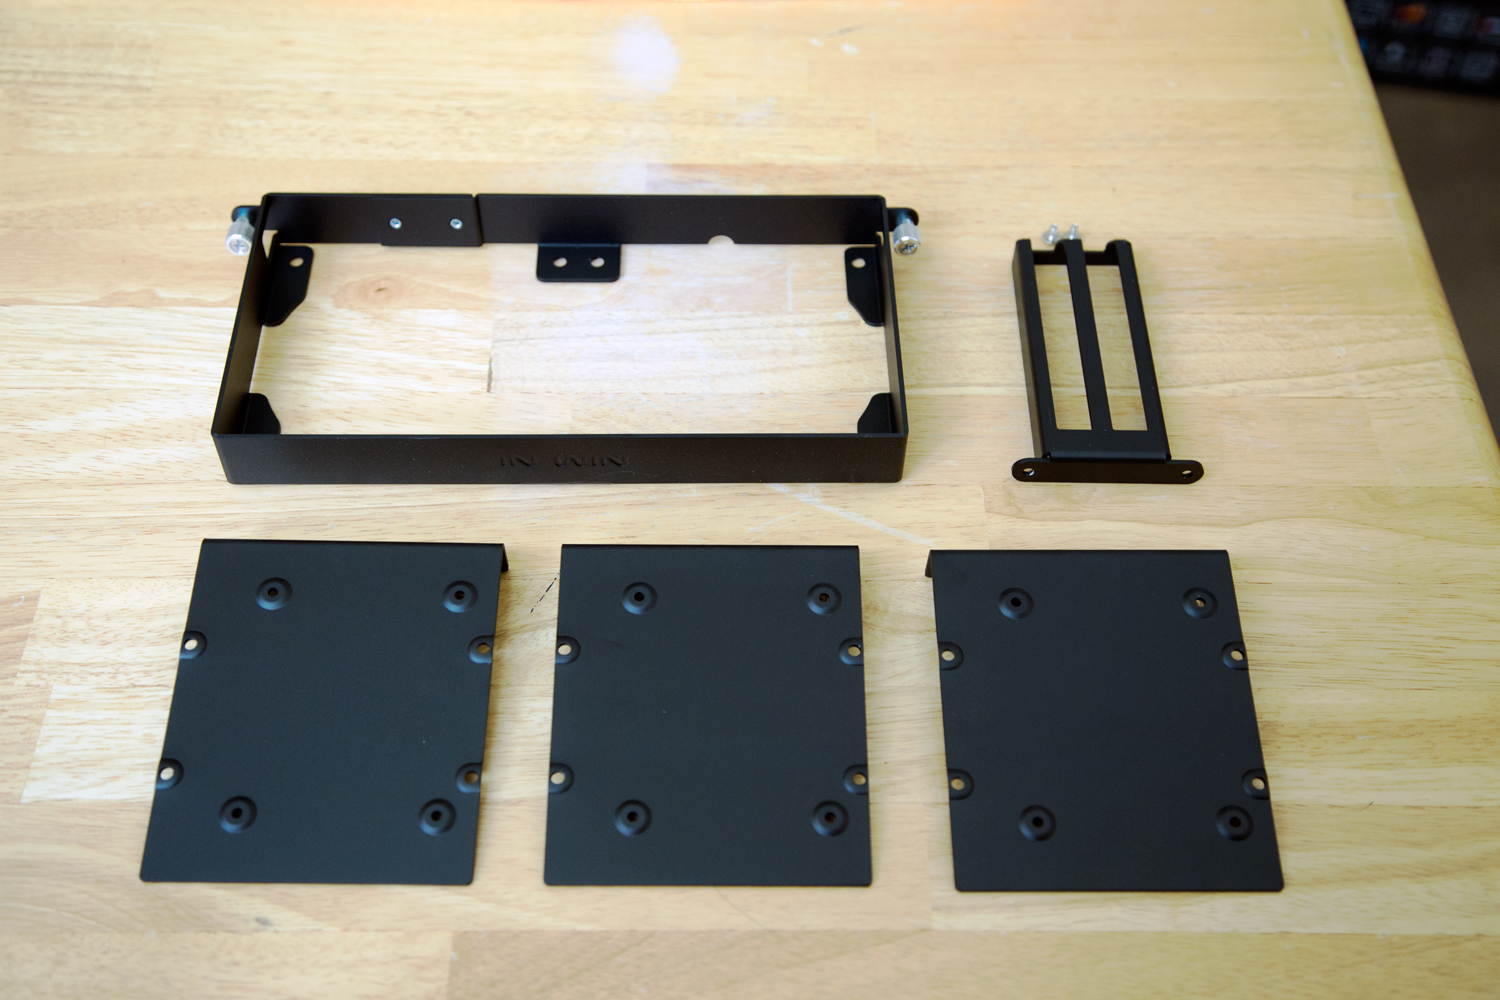
Once we got to building with the D-Frame Mini, details immediately stood out. The mounting points for the glass and back plate feature shock absorbing rubber fittings. The removable mounting points for the hard drives and radiator feature spring loaded thumb screws. Every surface is finished in black.
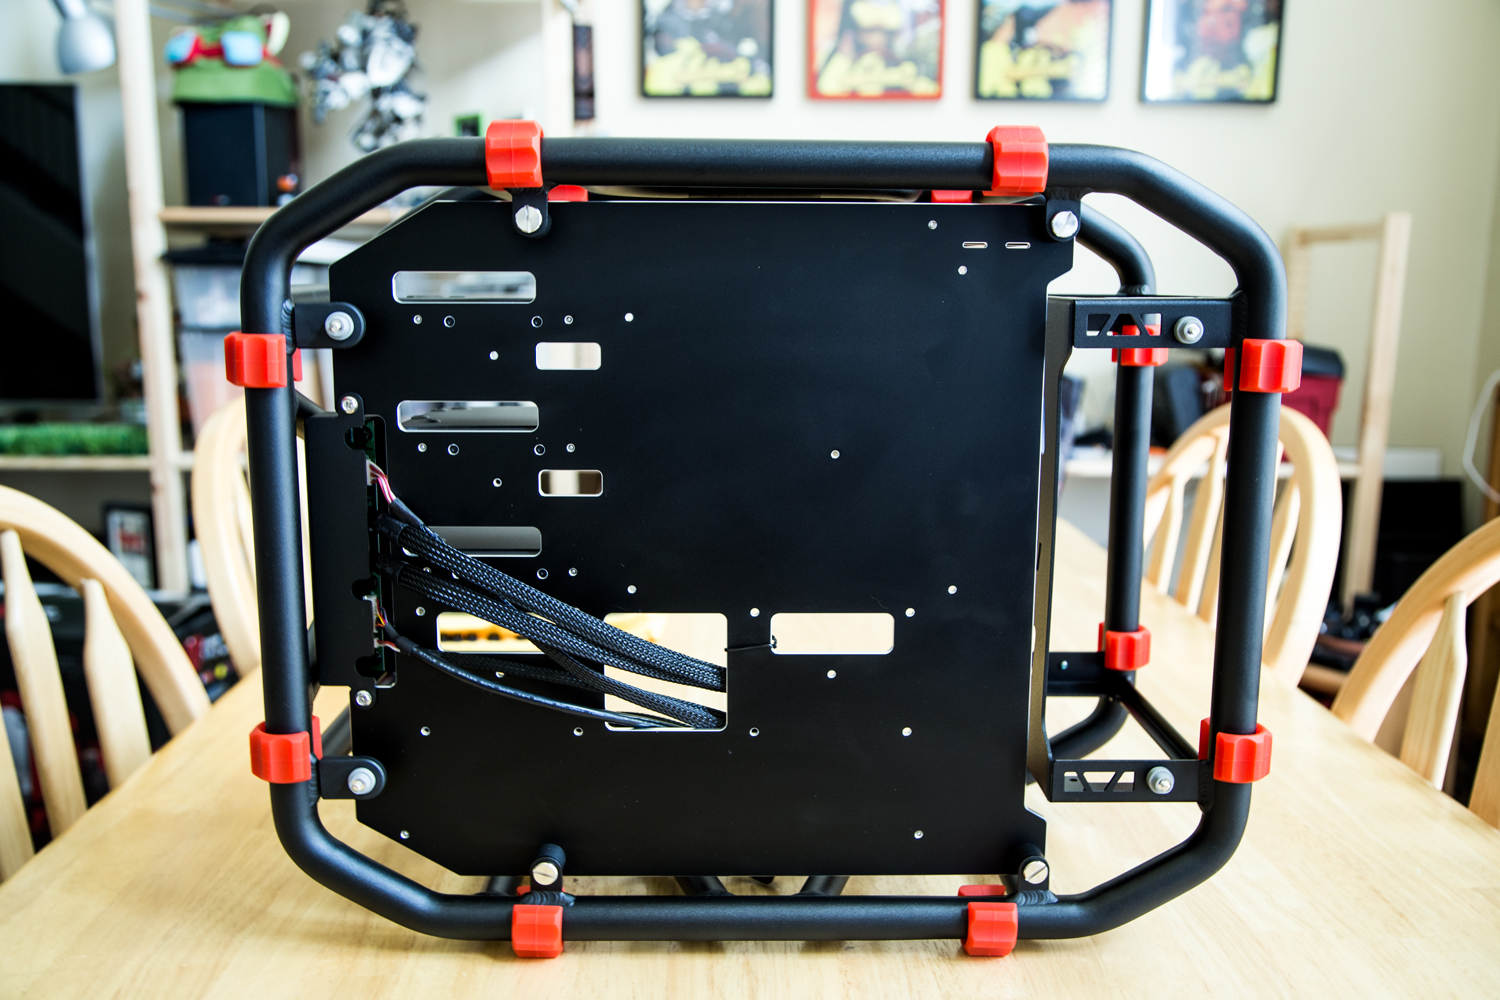
We started by disassembling the chassis and setting aside the various mounts for later. We then removed the mounting plate to make it easier to install the motherboard and other components.
Some Assembly Required
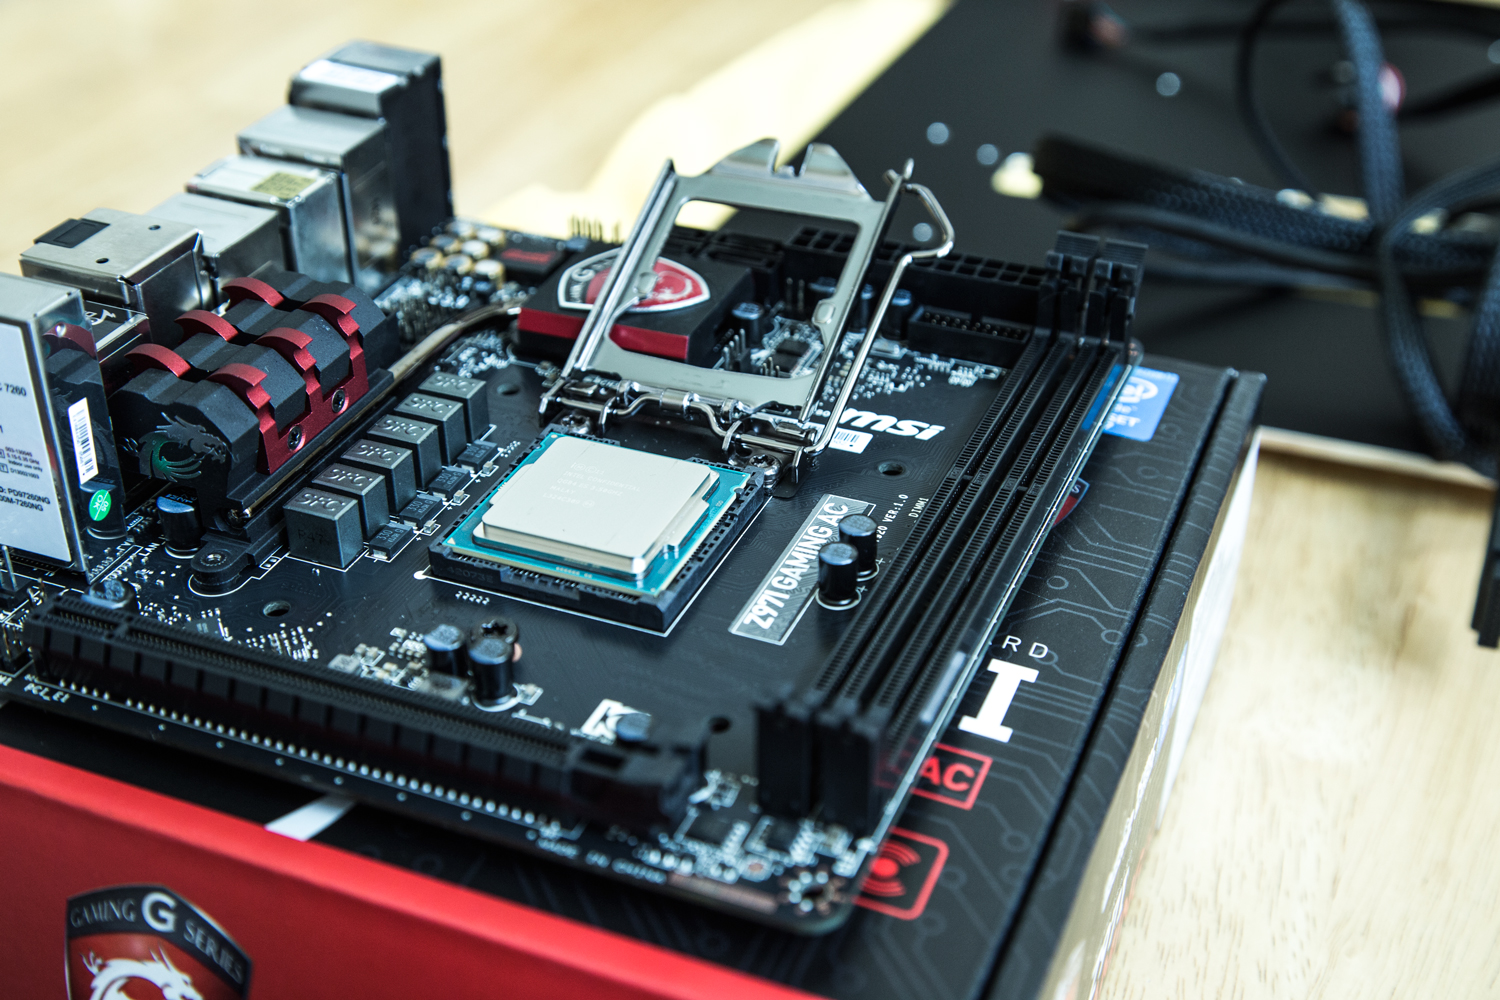
For a motherboard we chose the MSI Z97I GAMING AC. It's an ITX motherboard with a gaming focus that includes support for the latest LGA 1150 chips, overclocking, DDR3 3200, and versatile networking options including the recent IEEE 802.11ac wireless standard. As far as ITX motherboards go, it had every option we could have asked for.

Before we installed the motherboard on the chassis, we installed custom, green grommets to replace the red ones that it shipped with. We also set up the mount for our Corsair H100i 240mm all-in-one closed loop CPU cooler and dropped in our Intel i7 4790k processor.
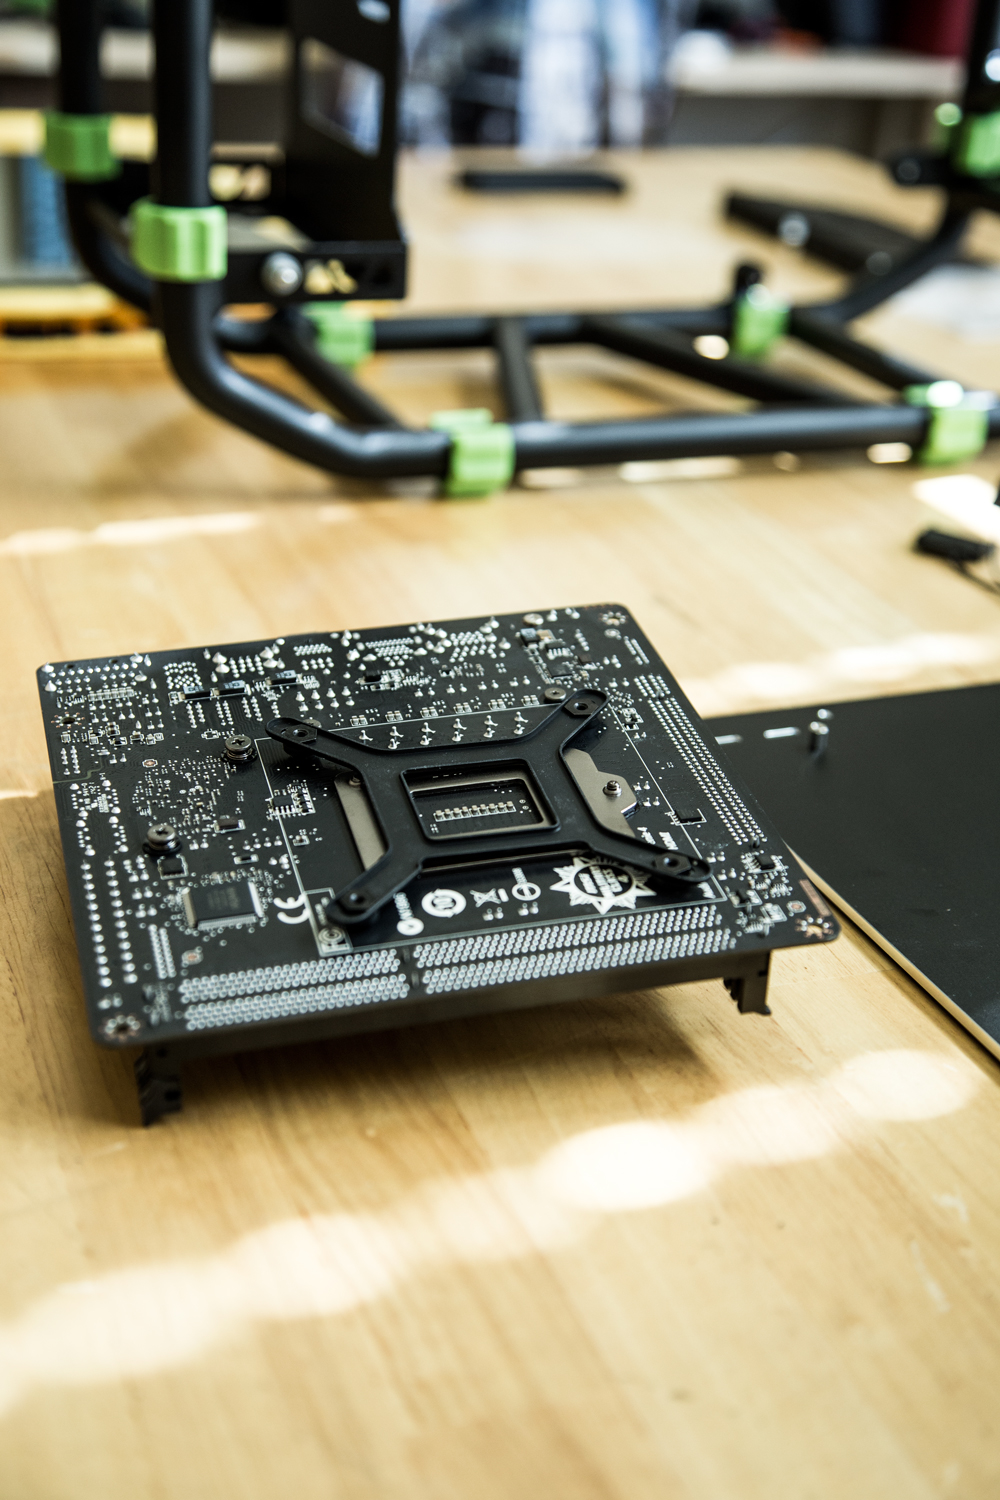
We then installed the standoffs to which the motherboard would be fastened.

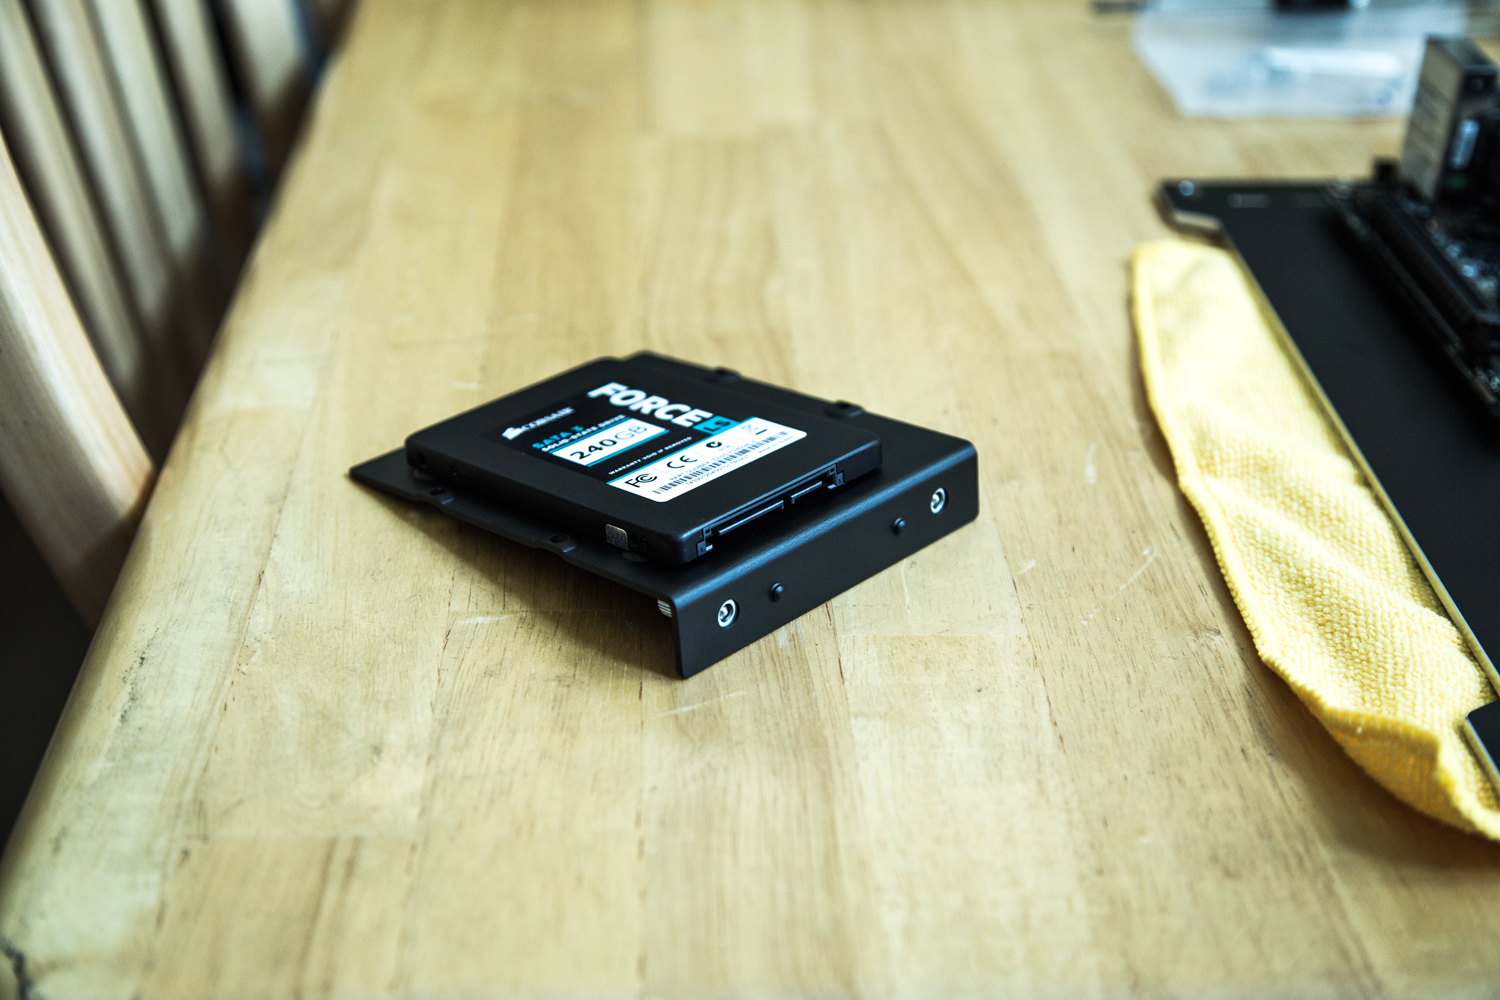
Before completely installing the CPU cooler, we chose to install the 240 GB Force LS SSD from Corsair. This SSD would act as our OS drive and house our favorite games. This machine is purpose built for LANs, but if we wanted to make it our main rig we would probably include a second, larger SSD just for games.
Because of the positioning of the mounting hardware, we took the step of installing the drive first to determine how we wanted to route the tubing on the H100i.
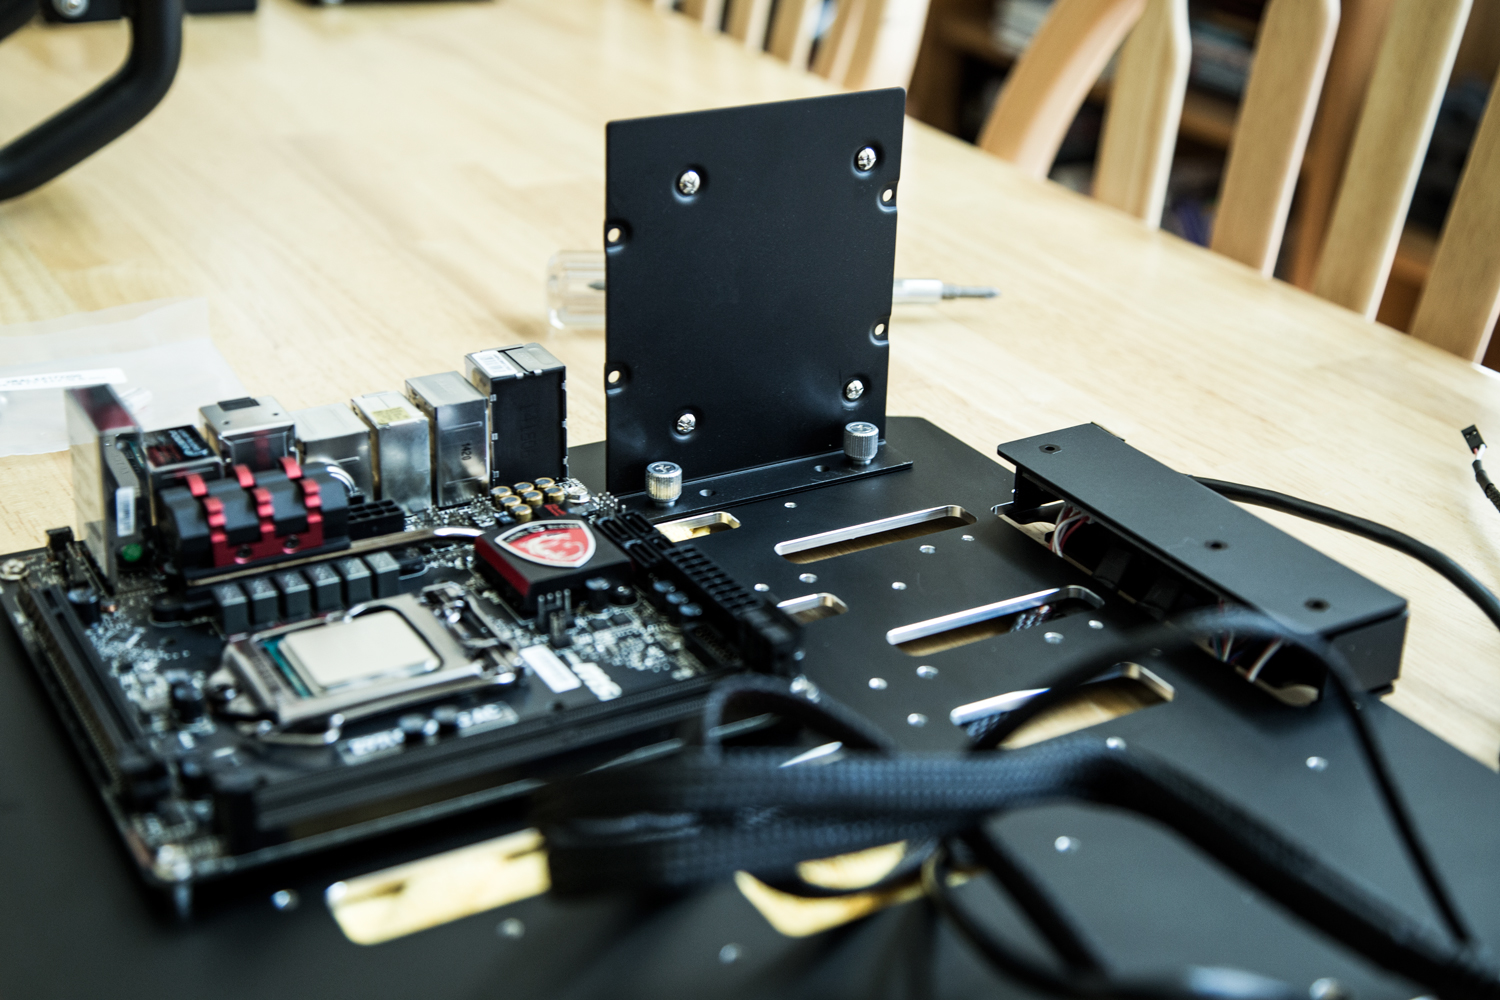
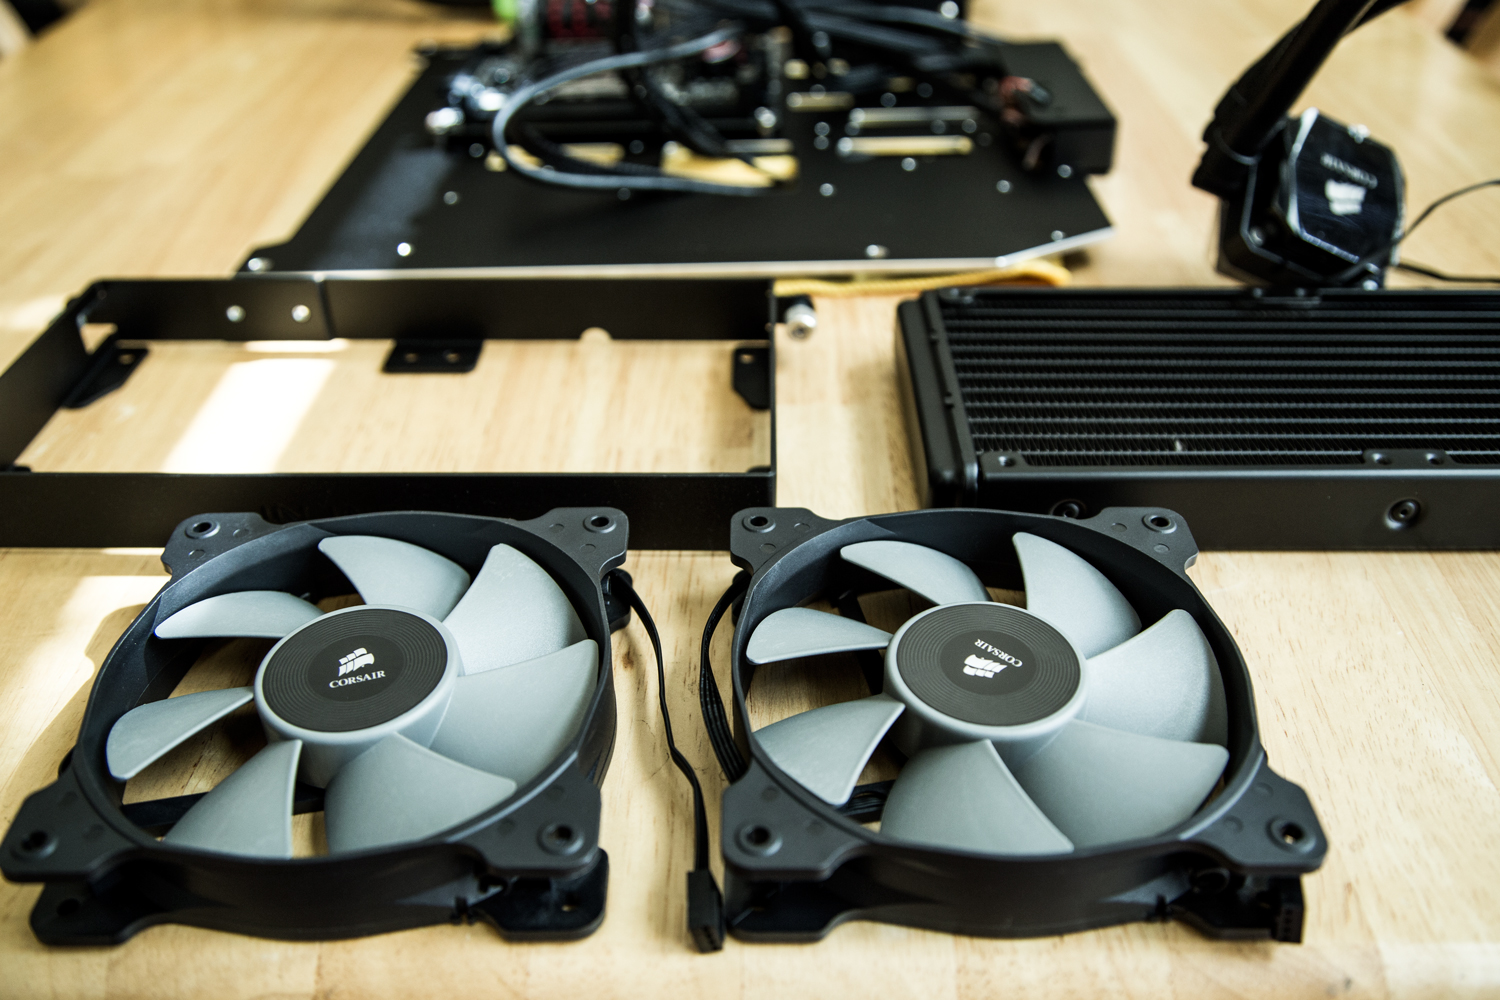
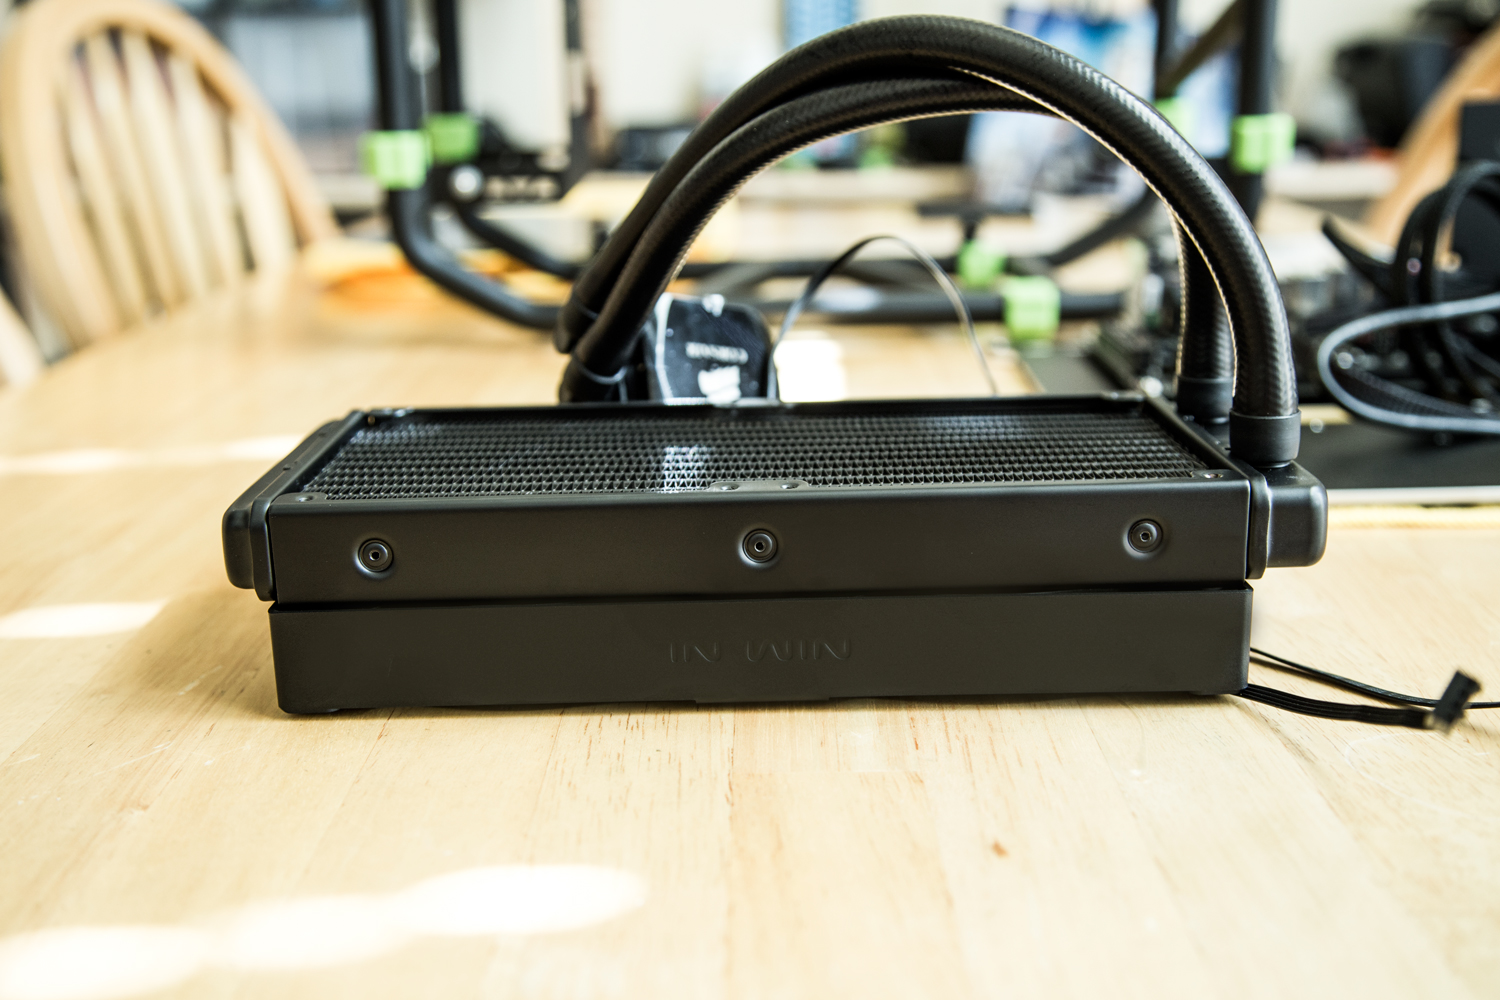
Next, we assembled the H100i CPU cooler along with the mounting bracket for the chassis. A larger radiator like this one is great to help maintain temperatures on the CPU in uncertain conditions. We even have the option of adding additional fans for a push-pull configuration.
After installing the cooler, our final step before marrying the mounting plate to the chassis was to install the HX750i PSU. While our GPU requires less power than the previous generation, we're using high end components and a larger power supply will give us the additional headroom required should we choose to overclock.
We also made sure to not thread any of our wires before this step to avoid tangles and aid cable routing once we were ready to connect the cables we needed to the modular power supply. With other cases, connecting the leads for the power switch and led indicators can be a frustrating exercise but the open design of the D-Frame meant there was plenty of room and light to get the job done.
Once the chassis has been fully re-assembled, we install our GPU. For a build of this caliber, the only GPU that made sense was our new GeForce GTX 980.
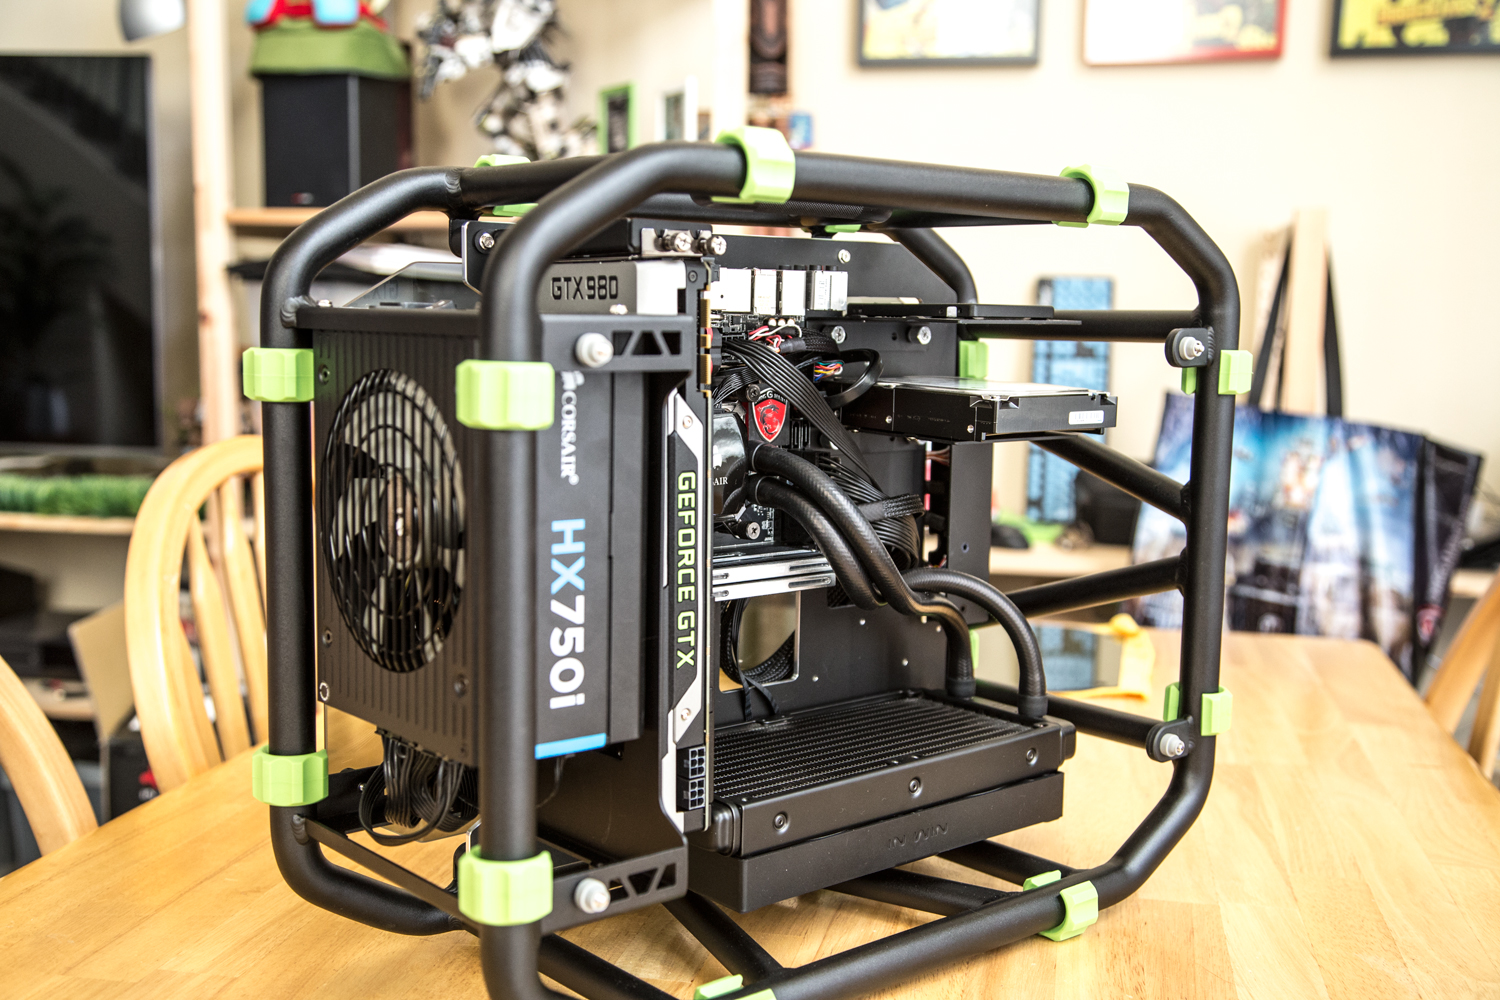
The process of installing the GPU covers a screw that connects the mounting plate and chassis so it's one of the final steps of assembly before we connected the power cables, installed 16GB of Corsair Dominator 2400MHz RAM and opted to add a second HDD for mass storage.
Nothing Short of Spectacular

We loved building these gaming rigs and decided to make three in total to bring to our LAN parties. The handle on In-Win's D-Frame Mini makes it easy to transport, the immaculate fit and finish means it's a pleasure to assemble, the open air design performs well in any environment and our choice of high end components produces incredible frame rates and smooth gameplay in all of our favorite games.
The first event you'll see these machines at is PDXLAN November from 11/7 through 11/9.
Parts List
| Component | Product | Price |
| GPU | NVIDIA GeForce GTX 980 | $549.00 |
|---|---|---|
| Chassis | In Win D-Frame mini | $349.99 |
| CPU | Intel Core i7-4790K | $317.25 |
| CPU Cooler | Corsaire H100i 240mm | $89.99 |
| Motherboard | MSI Z97I GAMING AC | $184.99 |
| RAM | Corsair DOMINATOR Platinum Series 16GB (2x8GB) 2400MHz | $279.99 |
| Power Supply | Corsair HX750i | $169.99 |
| Storage | Corsair Force Series LS 240GB | $138.77 |
| Total Price | $2079.97 | |
 |
||
THANKS TO: |
||
|
|
|